
Hofner 450 archtop guitar restauration
- Arne Fröhling
- Nov 2, 2022
- 5 min read
Updated: Dec 4, 2025
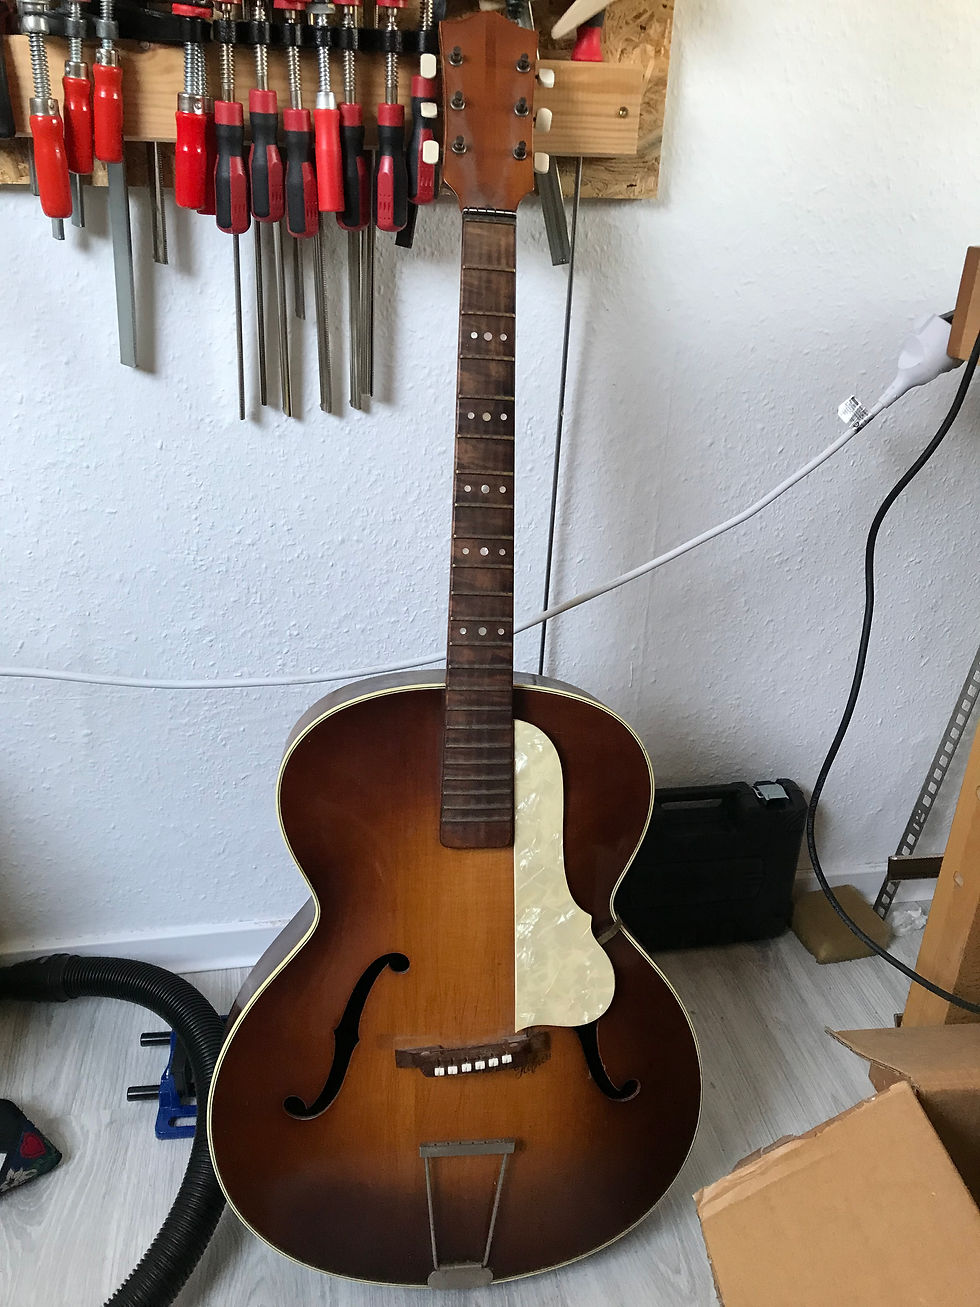
Here you can watch how I restore an old Hofner 450 made around 1955.
(1956 the Hofner Logo was moved to the left upper bout so it has to be older than that).
As you can see it is in good visual shape.
You can play it like this but it plays horrible...

It a bit dusty and it looks like this is not the original bridge.

The neck has an significant bow. And there is no trussrod so no easy fix.

Also the neck angle is off.
The bridge was already sanded down a bit, but you would have to take away another few mm to get a good action.
Very low bridges are often a good indicator that the instrument need a neck reset.

The frets sit badly.
Anyway they have to be removed, so I can level ther fretboard.

The frets are out.
Now its time to remove the nut.
There is two ways they come off:
In one piece or in several.
One blow with a hammer. I use a radiused sandblock to maximise the contact with the nut.

There you go.
Not too much superglue = no problem.
Also note the little dot behind the nut. This guitar seems to have a steel reeinforced neck.
I am not sure how much those reeinforcements actually do.
The previous owner had 0.13 strings on...
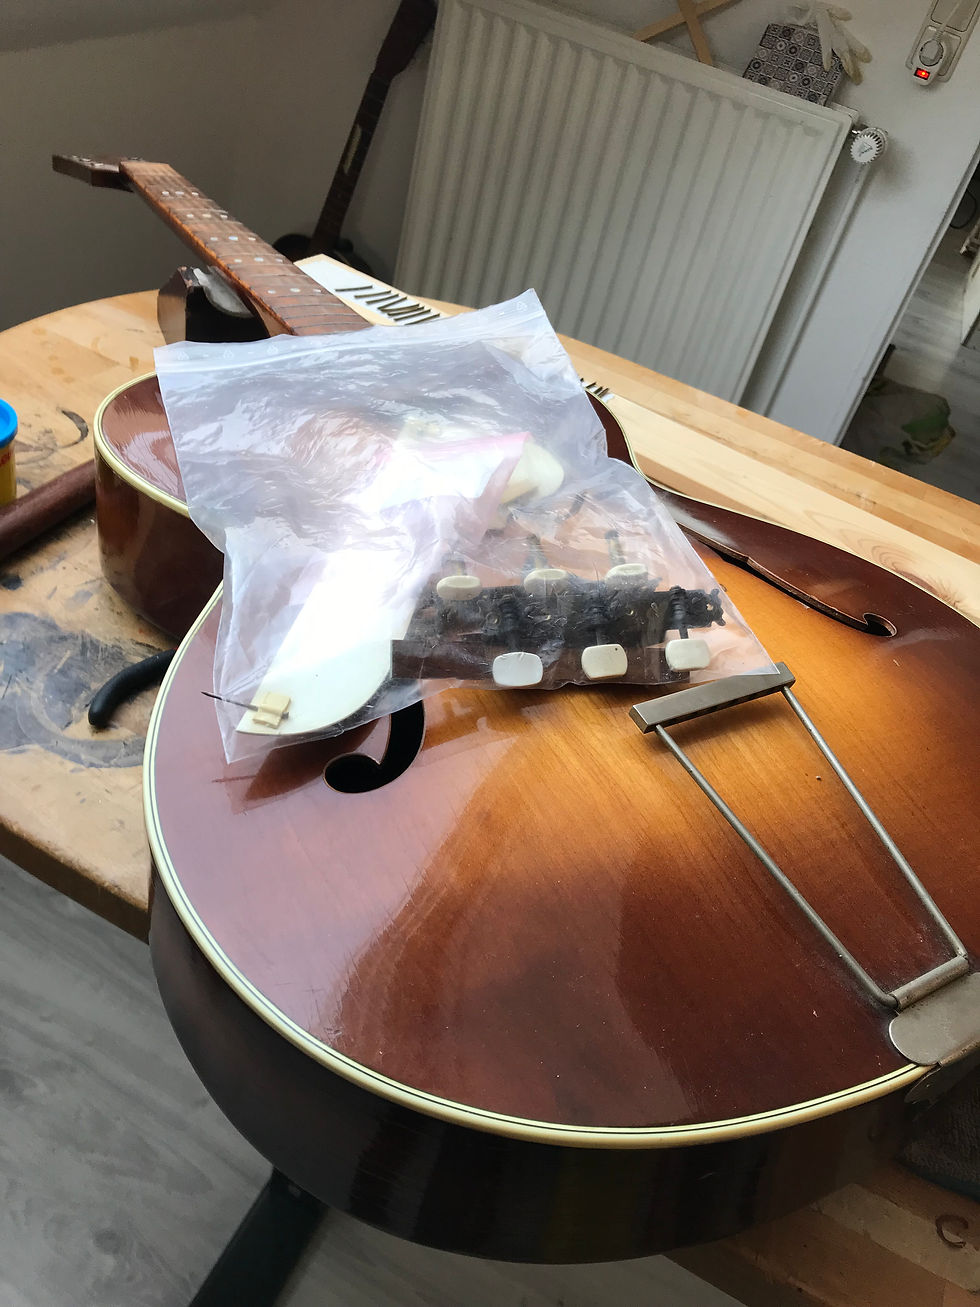
Now I removed all the hardware but the tailpice. It still is hold by the original nails and it wont be a problem down the road to leave it on.
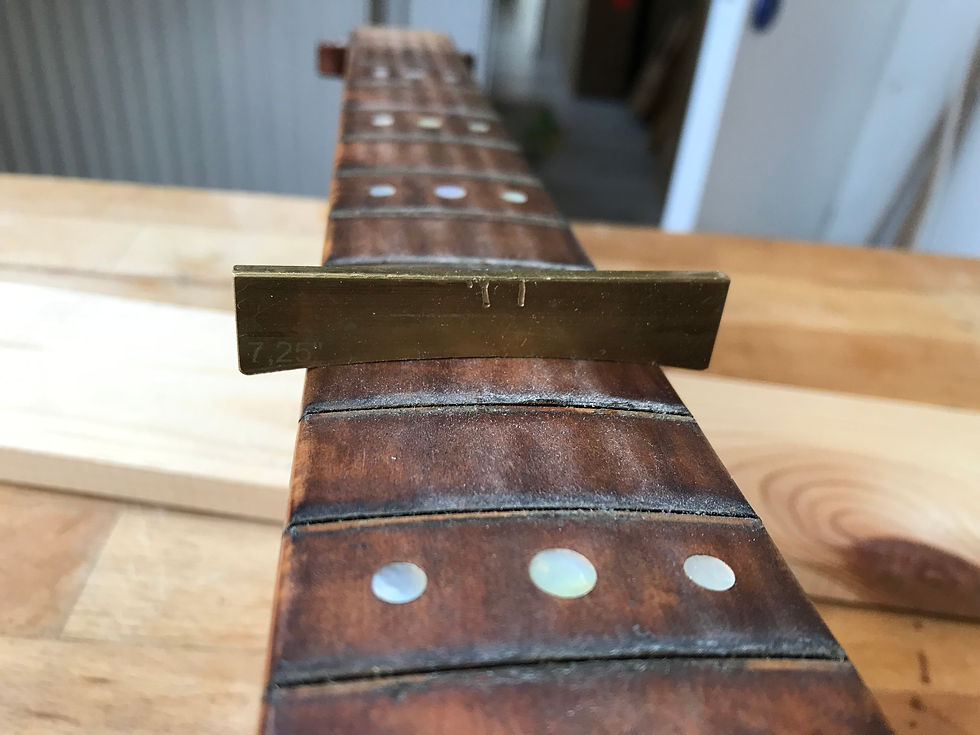
The fretboard has roughly an 7,25 radius.
So thats what I will use to level the fretboard.

There is no way to get the dot inlays out.
Anyway the most sanding will be done on the both ends of the neck and not so much in the area where the inlays are.
So that will be fine.
Now I level the neck with some nice selfsticking 100 grit sandpapar.
Dont buy cheap sandpaper...
The neck is leveled. Since there is no trussrod, I gave it a slight backbow.
Probably hard to see on the pics.

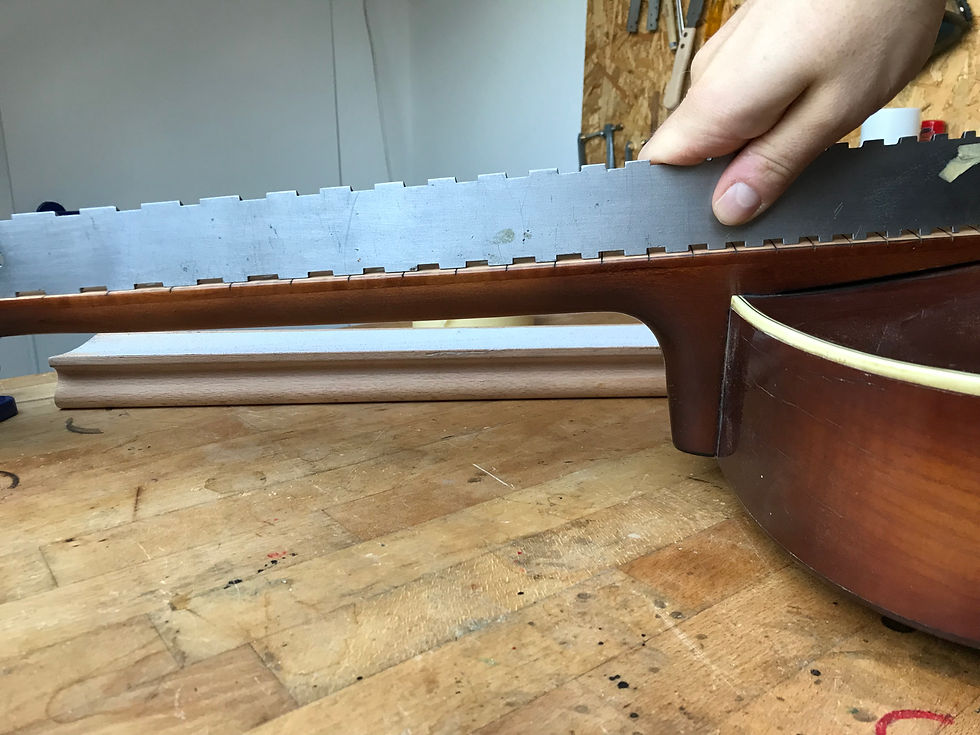
No its time to take off the neck.
I will use the Stewmac heat stick.
So some holes have to be drilled to the right depth.
Your worst enemy on a neck reset is your own patience.
This one came off nicely clean.
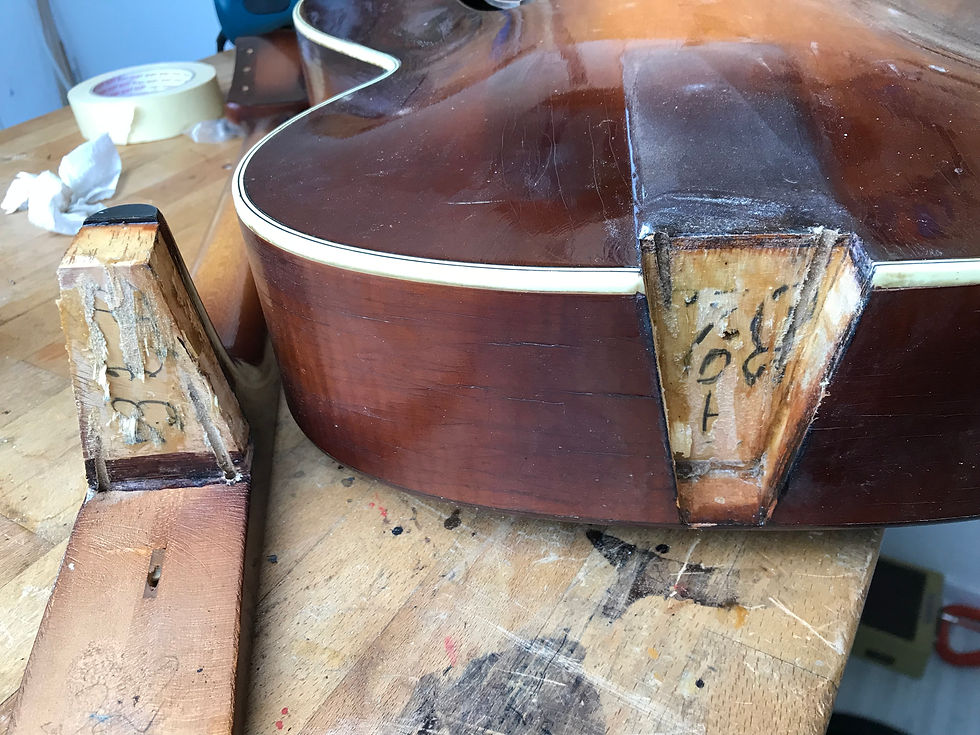
You can see the holes drilled into the neck pocket for the heat stick.

I am not sure what these numbers on mean.
Maybe someone knows?
You find them on most Hofners...

Now the heel and pocket have to be cleaned.
The neck was glued in with hide glue. Thats great because its easy to clean.
This might be the first neck reset this guitar got in 60 years....

Now I prepare the neck for the refret.
The saw has a depth stop.
That will often leave marks on the fretboard.

Thats why I only used 100 grit sandpaper so far.
Now the fretboard will be sanded with grit up to 400.
Then it gets some oil.
Also the holes for the heat stick have been closed. They wont be invisble, but hard to spot, once the frets are on.

Its time to put in the frets.
Back in the 50s and 60s they used different frets than today. ( you can say worse...
Those fret slots are just 0,4mm wide.
Modern frets fit in slots around 0,6 mm.
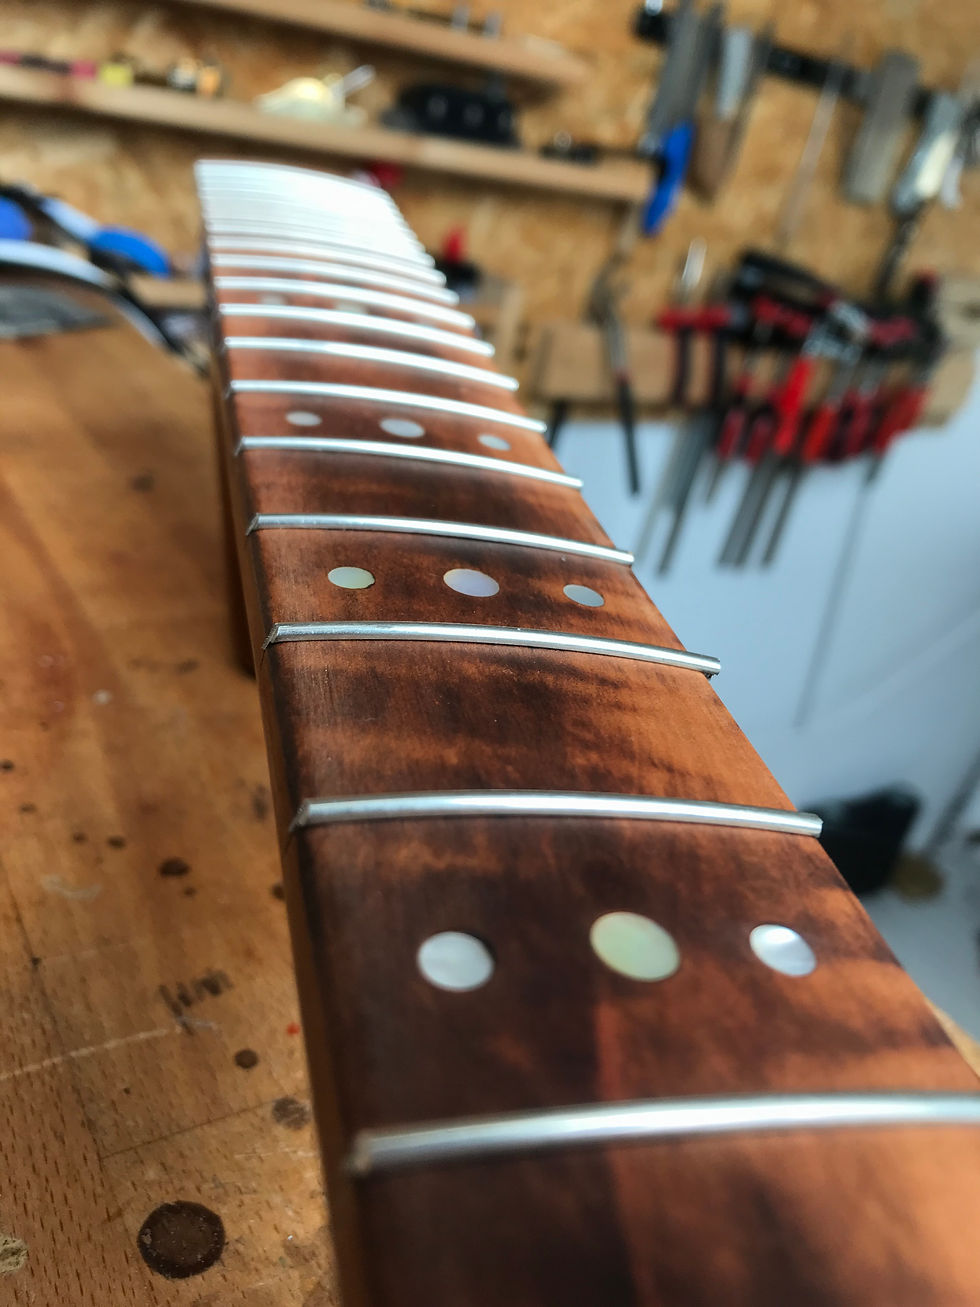
Anyway. I will use that to my advantage and put mondern frets in that 0,4mm fretslots at the first few frets.
That will give the neck additional strenght int that area and a little bit more backbow.
This fretboard really wanted new frets apparently. They go in smooth.
Done.
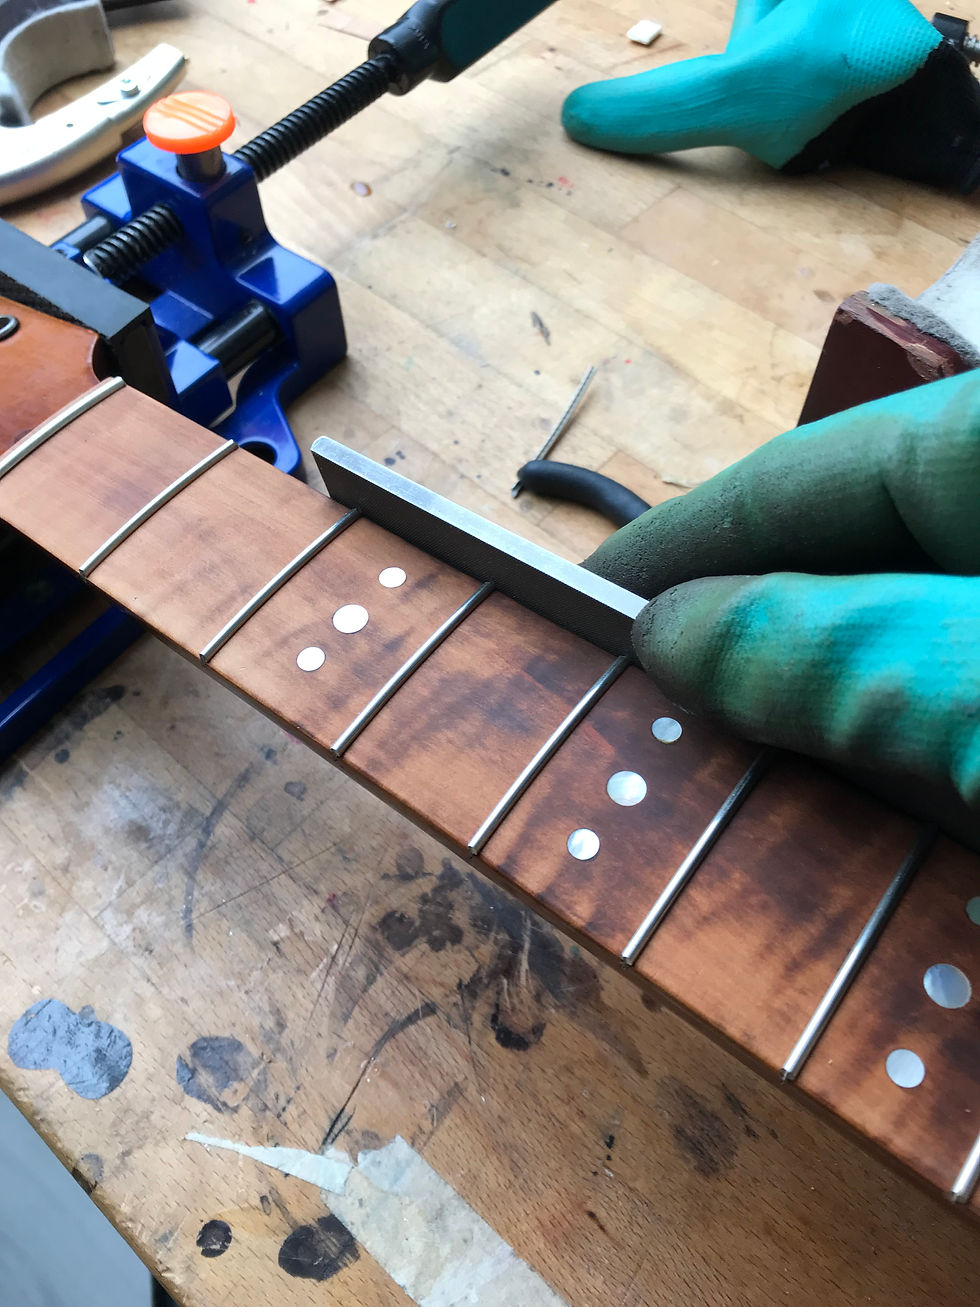
Now its time to adress the fret ends.
First I file them down.

Then I take a first round to make them smooth with a fret end file.
Sorry for the blurry picture...

Now its time to check how even the frets sit.
I am happy with that.
But there still are some frets that stick out a little bit.

So its time to level the frets a just little bit with the big file.
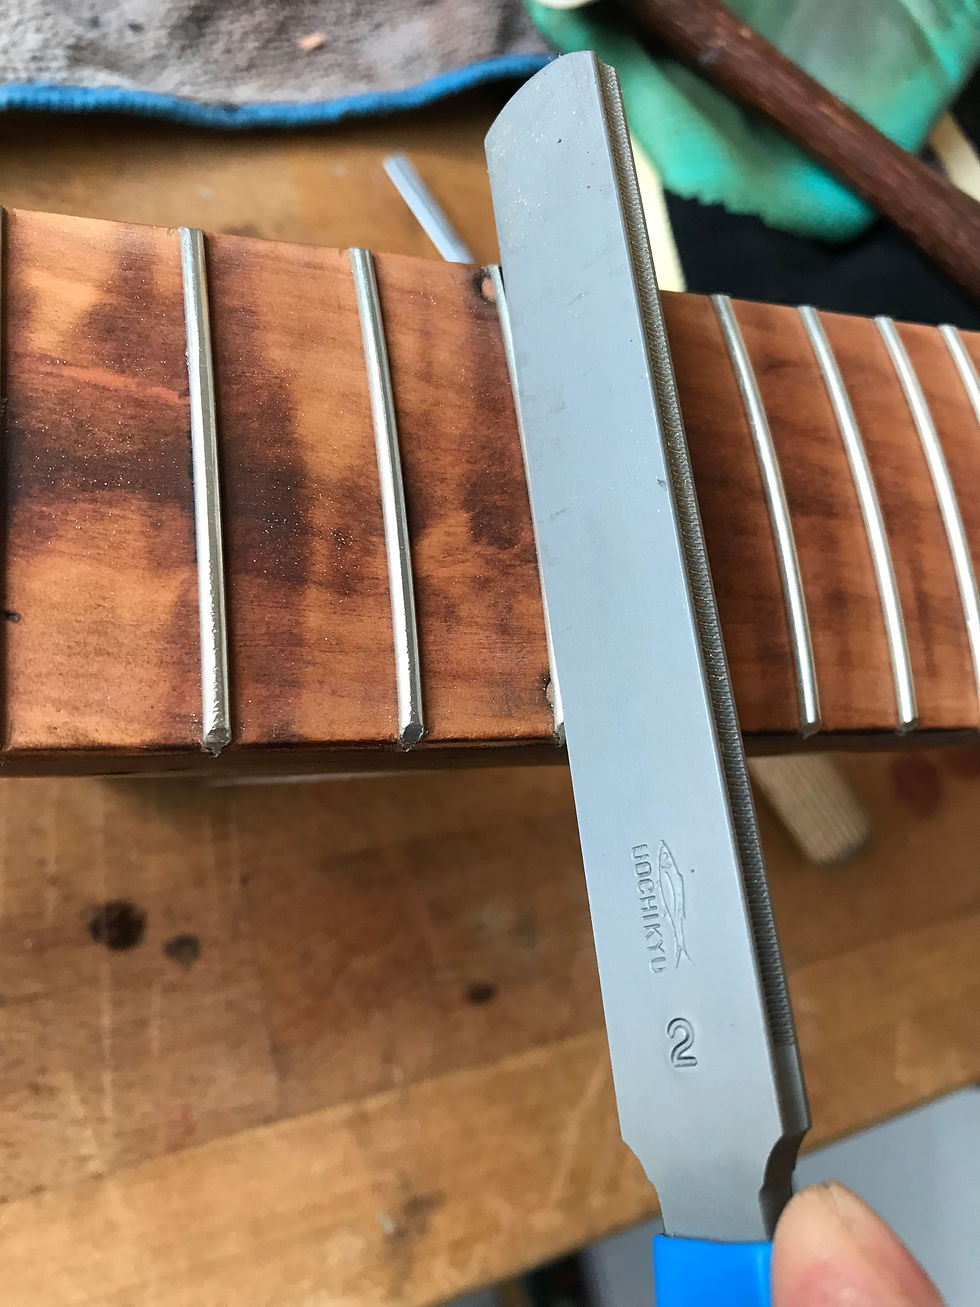
Now they have to be crowned.
The crowning file should have more or less the same width as the frets.

Now some further sanding and polishing as the big crowning file leaves marks.
I dont have a buffer. If you want frets to be super shiny you have to take it to someone who has one.
But for playing polishing by hand is good enough.
One more round with the fret rocker... Good. Done with the fretting.

Now its time to put back on the neck.
I will convert this guitar to a bolt on neck.
The screw wont be visible, as it is screwed from the inside.
The hole you can see is not the one for the screw, but was already there...
The neck will be screw from within with a single m5 screw.
In the neck heel is a matching threated insert.
You can access the scew from the inside with a veeery long screwdriver via the strap button hole at the bottom of the guitar.
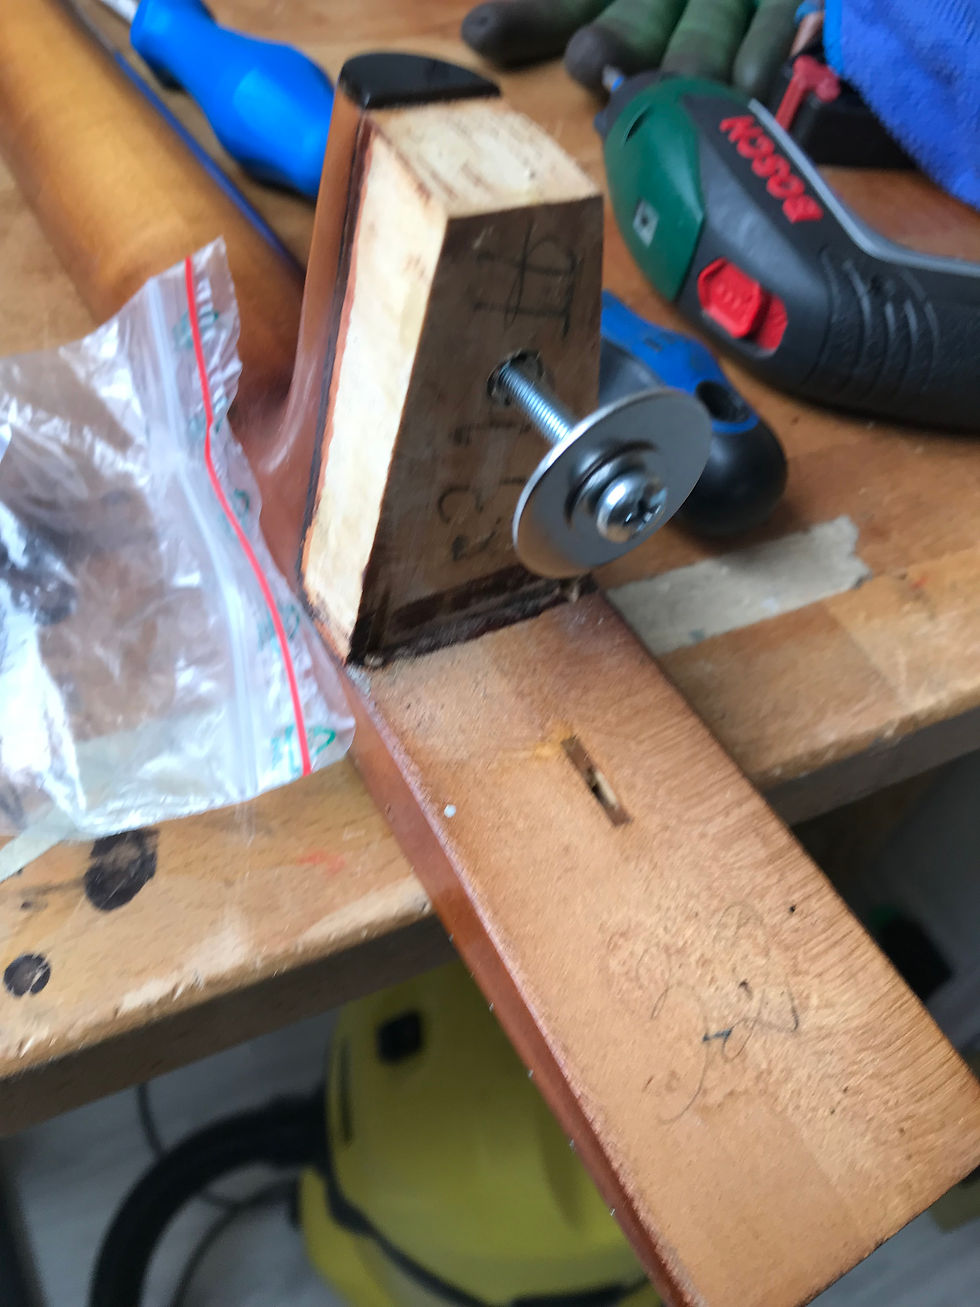
Its a bit tricky to get the screw with discs in place...
The neck could easily be glued in with hide glue aswell. All the parts are cleaned and the neck pocket fits well.
The single screw is easily enough though. And it will makes repairs and maintainance in the future so much easier, because you can take off the neck.
A single shim was used to correct the neck angle to fit the maximum bridge height.

The neck is on.
There is almoast no way of telling that this is a bolt on neck now...

One tuner button was not orignal. I dont have the original one unfortunately.
But I had one that looked much better, so I put it on.

Another last inspection with light and mirror inside.
All looks good and no loose braces.

I reused the bridge., It was fit to the top already and looks good on that Hofner.
Just a little fine tuning with the nut files.

Now I put on some Martin Lifespan 0.10 stringt I still had laying around.
And now the great moment comes where you can tune it up and play it.

Visually it didnt really change much. I just cleaned it.
But this is a whole different guitar than you see on the first picture ;)
It now plays like butter, permits very low action ( around 1,8mm deep E 12th fret), a good high bridge and has a straight neck.
Here you can hear it:

Comments